
Hot Handstand Tip #2 - Pelvis positioning
Hey guys and girls I wanted to share an important body awareness drill for beginners with you today addressing one of the elements of pelvis position in handstand.
You may have heard someone say to you before to squeeze your glutes!
This is by no means a bad bit of advice as this can help stabilize the hips and overall handstand line but before this is even possible we have to make sure our pelvis is in the correct position.
The fancy terms are posterior pelvic tilt and anterior pelvic tilt. In handstand we favour posterior tilt as this allows us to engage the glutes and abdominals. Notice how when you do these drills and stick your butt out and arch the back which is anterior tilt you cannot engage your glutes. Then notice how the reverse is true when you tuck the hips under which would be posterior tilt.
Here is 4 different examples of how you can utilize this concept to gain awareness of your own positioning.
Hot Handstand Tip #1 - Shoulder angle
Hey guys and girls I wanted to share an important body awareness drill for beginners with you today addressing one of the elements of shoulder position in handstand.
I recommend having at least a 30 second to 1 minute chest to wall handstand before trying this drill. Do 2-3 sets of 5-10 reps as part of your warm up.
You may have heard the terms open and closed shoulders. Now its one thing to comprehend the theory behind something but in order to fully understand this we need to “feel it”.
Kick up with your back against the wall with your hands about one hands distance from the wall. Now whilst pushing up an elevating the shoulders throughout you are going to lean your shoulders over your hands as far as is comfortable. This is closing your shoulder angle. Then do the opposite and move your shoulder towards the heel of your hand as far as possible without falling back to your feet. this opening your shoulder angle.
Most peoples correct shoulder angle for a regular handstand is somewhere in between these two extremes.
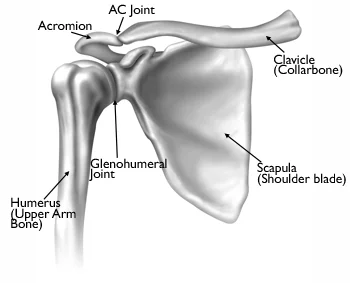
Proper Overhead Shoulder Position
This is a re-post of a great article on shoulder position by @cirque_physio. Checkout her Instagram and Website where there is mountains of excellent information available for free including plenty of drills that will help improve your joint health and handstands.
This is a re-post of a great article on shoulder position by @cirque_physio. Checkout her Instagram and Website where there is mountains of excellent information available for free including plenty of drills that will help improve your joint health and handstands.
“Engaged shoulders are ALWAYS down and back!! Spoiler- this is NOT always true.
Alright - question for y’all. When your arms are overhead- whether you’re hanging from an apparatus, in a handstand , or stretching, what position are your shoulders in 💪? Are they down and back? Neutral? Up by your ears? Many of us use “shoulders down and back” as our cue for any overhead movement. However, this is actually *not* the optimal position for your rotator cuff- especially if you’re bearing weight in that posture (hanging, handstands). To help you understand why, here’s a quick bio-mechanics lesson. ⠀⠀
⠀
For full and optimal shoulder overhead range of motion, you need 60 degrees of upward rotation from your scapula, and 120 from the actual ball-and-socket joint (glenohumeral joint). When both of these contribute as they should, and all involved muscles work properly, it keeps the rotator cuff in optimal alignment so it can best protect your shoulder from injury. 💪⠀⠀
⠀⠀
NOW- back to arms-overhead cueing: if you think “shoulders down and back,” you’re working against proper shoulder mechanics, and taking the scapula completely out of the equation. This forces the glenohumeral joint to produce more motion than it’s meant to, and does a few undesirable things: 1️⃣ brings your rotator cuff tendons into contact with the top of your scapula, potentially leading to impingement and rotator cuff tears 2️⃣ forces your elbows, wrists, and forearms to do more work, since your rotator cuff can’t contribute as much as it should when its being impinged.⠀⠀
⠀⠀
SO, what is the best overhead position⁉️It depends on what you’re doing, but the safe range is from the halfway point of a shoulder shrug, to fully extended (shoulders to ears).…basically, the complete opposite of “shoulders down and back!” Additionally, elbow pits should be facing each other, to promote slight shoulder external rotation. This position is where your shoulders are happiest and strongest 🙌⠀
WHAT ABOUT HANDSTANDS?
In my experience, this is less of an issue in hand balancers. One component of a technically correct handstand position is full elevation of your arms overhead, with an emphasis of the “shoulders to ears” cue. This puts most people in a nice, upwardly rotated scapular position, and keeps the rotator cuff happy. Another good cue to throw in for hand balancers is to think about rotating the hands away from each other, to promote slight external rotation and give the rotator cuff more space. One issue that I DO see in hand balancing is when fatigue sets in. In most people, the first fatigue-related compensation in a handstand is going to be a slow increase in the space between ears and shoulders- letting your shoulders depress, because your upward scapular rotators are getting tired. This causes the glenohumeral joint to take up the slack, and the rotator cuff gets compressed. Take home message for handbalancers- if fatigue equals sinking in your shoulders, COME OUT OF THE HANDSTAND! Same goes for training one arms- don’t get fatigued to the point of compromising technique, unless you hate your rotator cuff and want it to be miserable”
So there you have it. Some very sound knowledge to help you understand your shoulder position in handstand. Spread the good word.
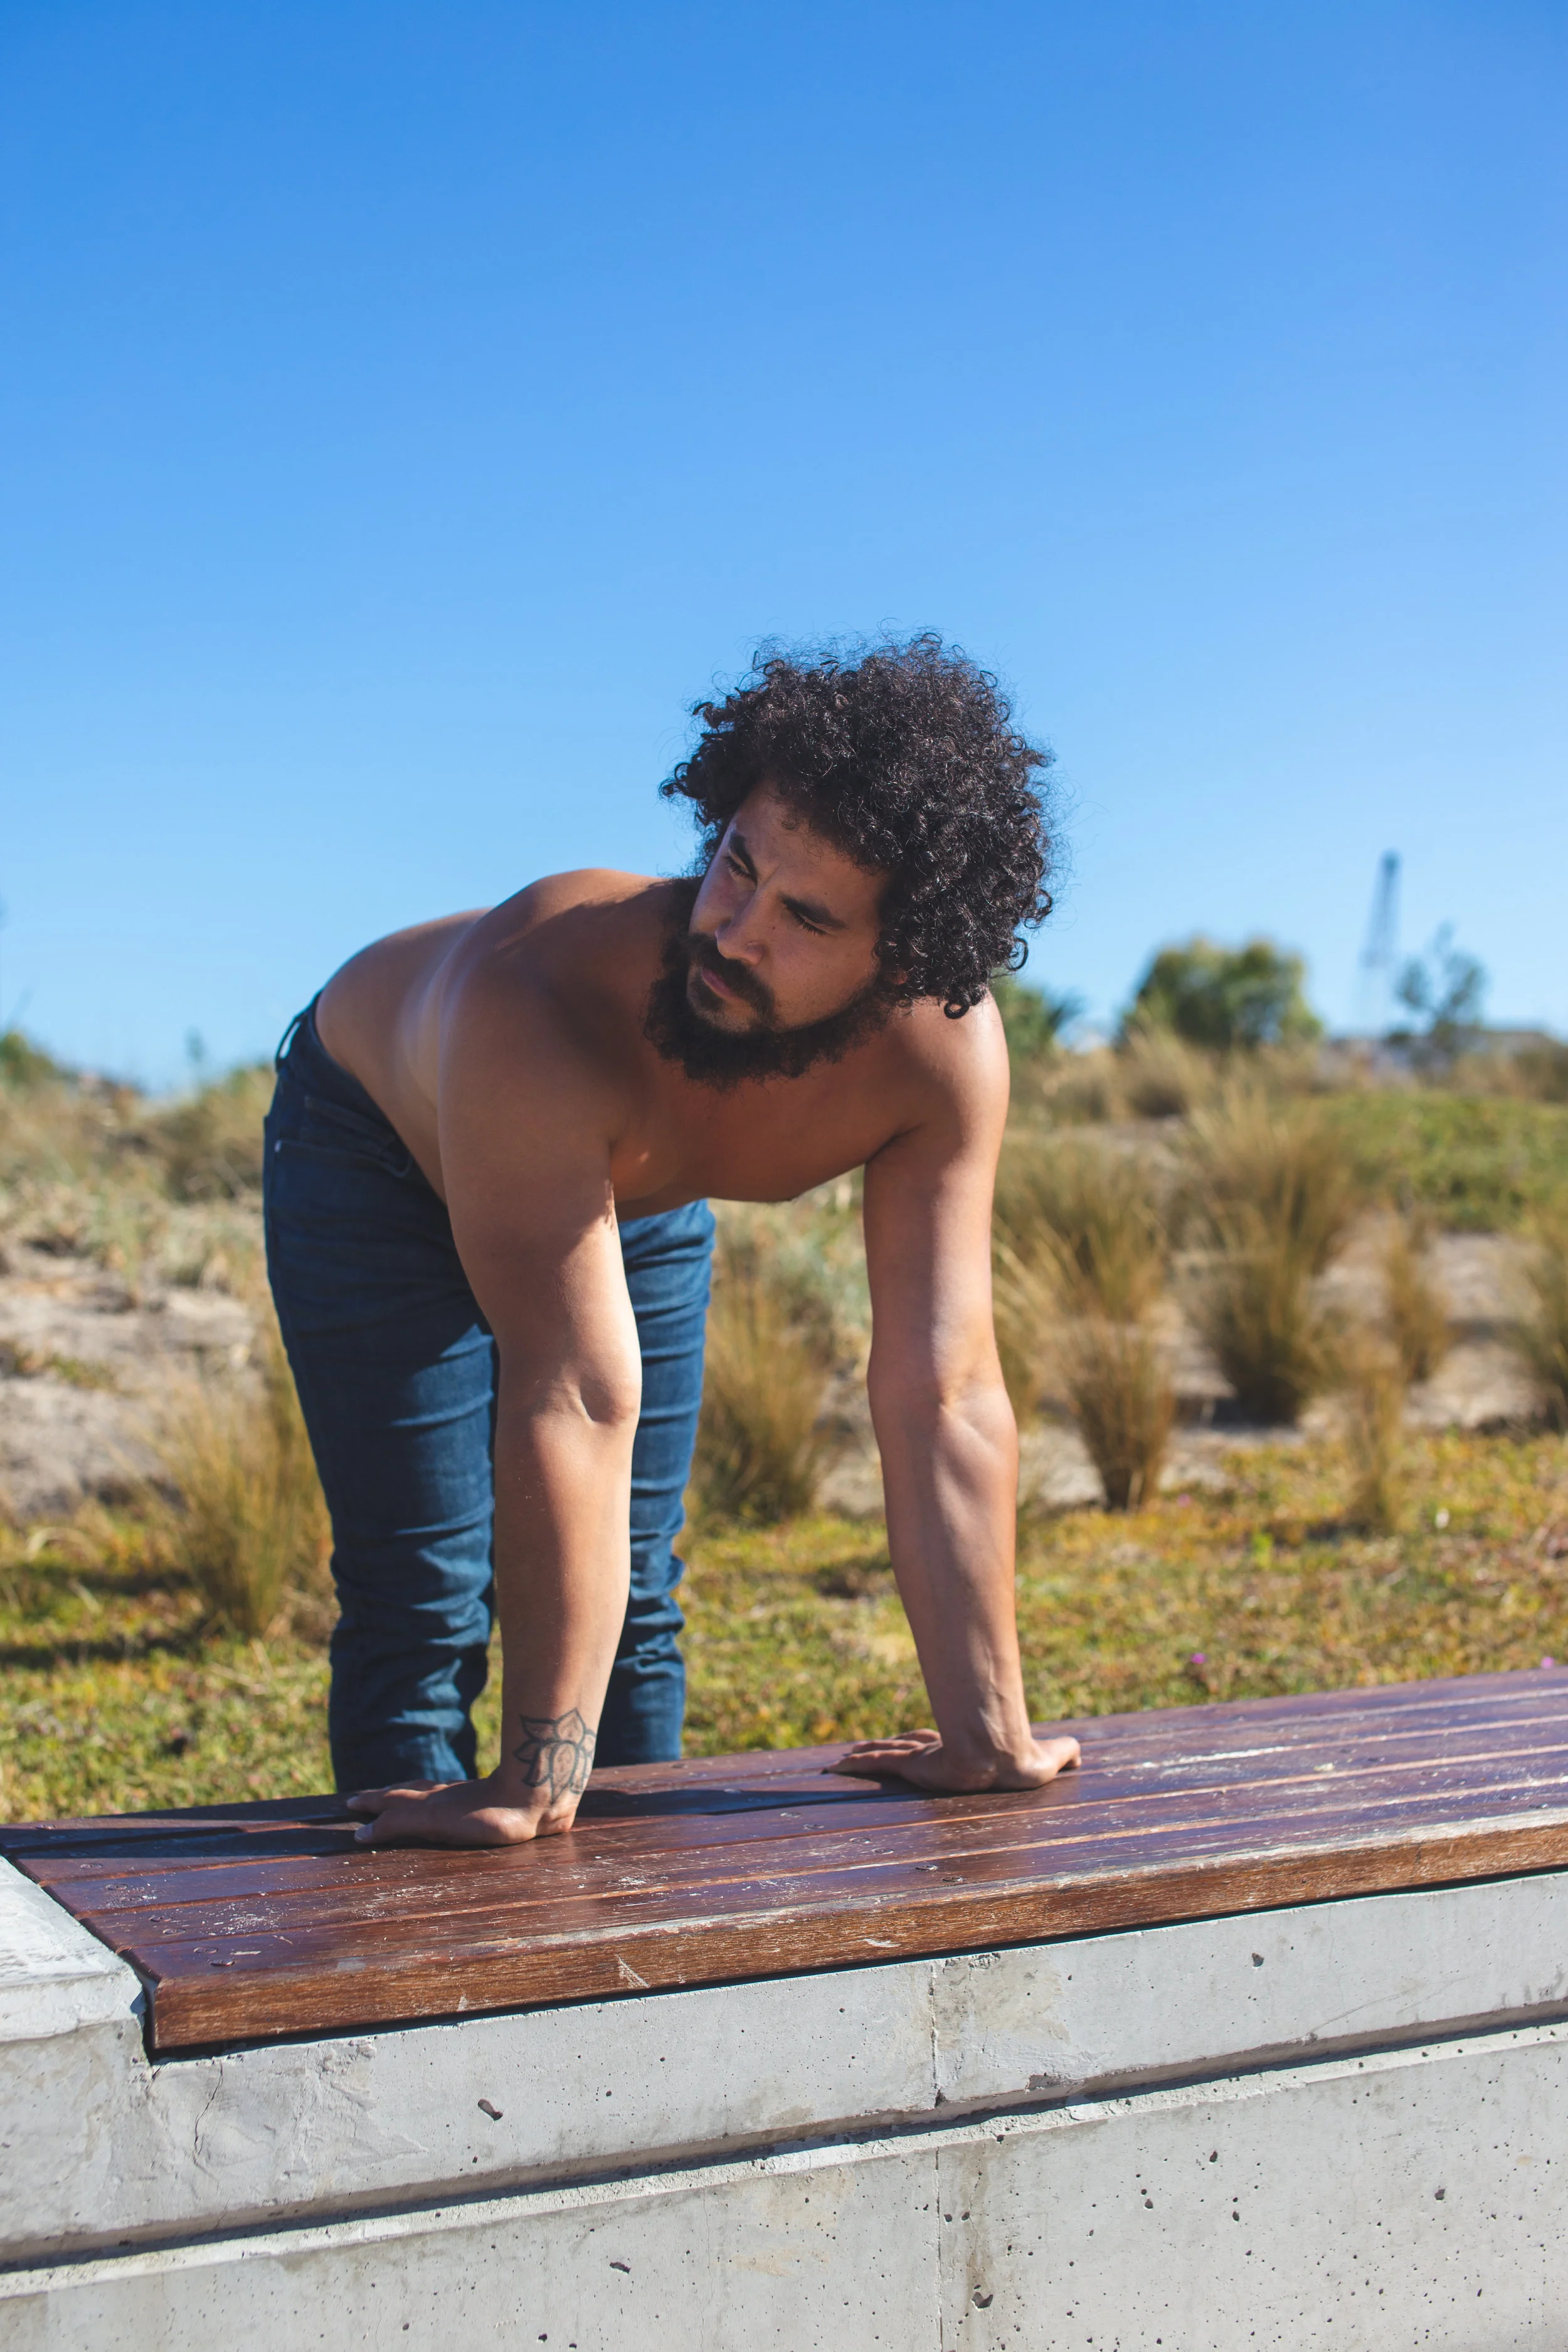
Handstand Basic Strength
Just some of the basic handstand specific strength patterns I teach to my students that I want to share with you today to help your own handstand or arm balance practice.
Just some of the basic handstand specific strength patterns I teach to my students that I want to share with you today to help your own handstand or arm balance practice.
The first. Weighted straight arm lifts help to strengthen the pathway that the arms take under load when pressing or jumping into a handstand.
The second. Handstand Pike walks. Basically here we are repeatedly doing reps of what is generally speaking the hardest sticking point in a press handstand. If you find that this exercise is above your level of flexibility, split the legs to a wider straddle. If you find that this is above your level of strength, simply lean as far as you feel comfortable over the wrists, and push as hard you as can for 5 seconds without trying to brings the legs to the hands for reps
The third. A-frame push ups. If you want to make your arm balances and chatarunga feel like a stroll through the clouds this is for you. Its also great for those wanting to start developing the strength needed for free standing handstand push ups. Can also be done with the legs straddled if your a tighty.
Try three to five rounds of each once per week consistently and watch your handstands improve.
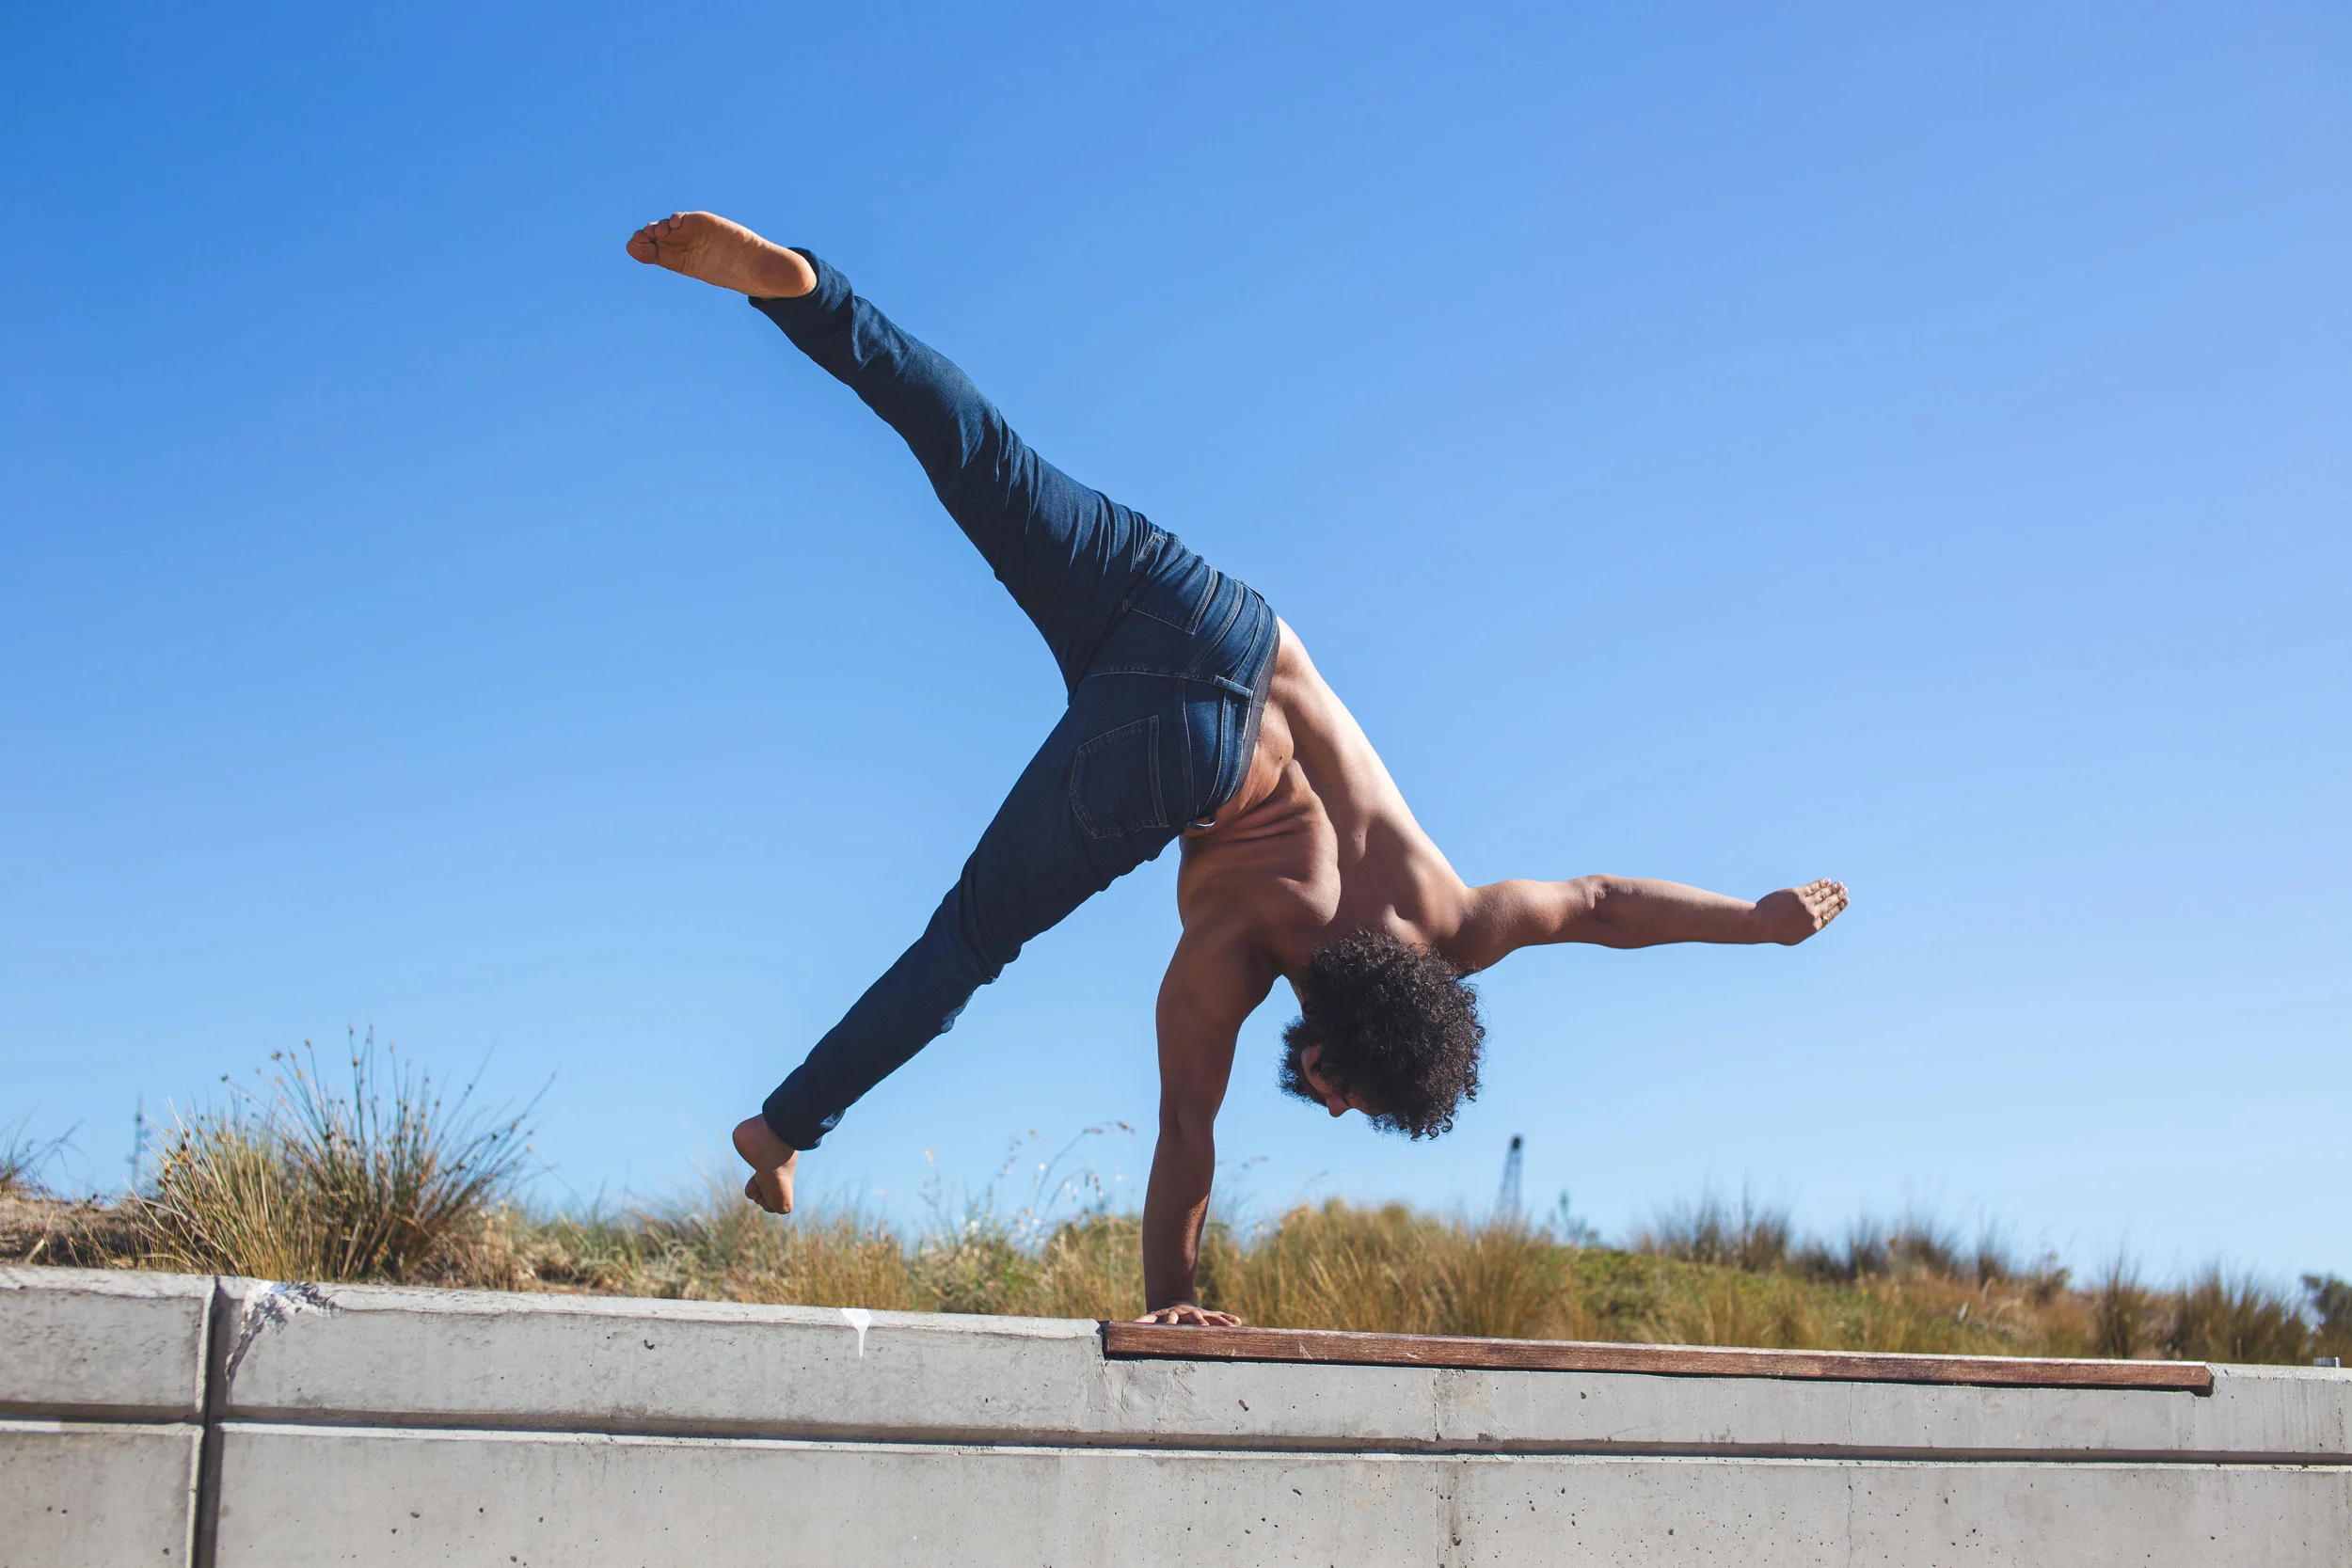
Handstand And Mindset
Its very rare to have big “aha!” Moments in handstand training. The progress is almost imperceptible day to day so it takes a certain amount of perseverance and patience to stay the course over the months and years it takes to really make change. Thus many give up before enough time has been given for growth and development of their handstand practice
Its very rare to have big “aha!” Moments in handstand training. The progress is almost imperceptible day to day so it takes a certain amount of perseverance and patience to stay the course over the months and years it takes to really make change. Thus many give up before enough time has been given for growth and development of their handstand practice
Relating to this what I often see especially in adults is the need to completely intellectualize everything to the extreme.
Thought, intention and a process is critical but It is through the daily physical exploration that your body will figure things out. It is much smarter than you are. If this was not the case we could all read a book on advanced handstands and suddenly be performing one arms the next day.
Its also why I often say that a teacher is more of a guide, someone to help expose you to certain feelings, sensations and concepts in handstand classes but unable to hand over to you a platter of skills or say a bunch of esoteric words that suddenly make you the next Michael Jordan of inversions
PRACTICE, explore and research that is where the magic happens.
Most importantly make sure you are ENJOYING your handstand practice.